This Justuno article will go over setting up a promotion from scratch to help you familiarize yourself with the design canvas.
At a glance:
Last update: 03/18/2022
Getting Started
To get a more detailed overview on getting started please view our support article on creating your first promotion: How to quickly set up your first promotion
1. Choose a promotion type.
1a. First you will be asked if you would like to have the promotion display on either Mobile or Desktop. We have separated the mobile and desktop promotions for more control with design. We also noticed that mobile users are becoming more and more prevalent therefore treating your mobile promotions differently has become important. Learn more about this here - Mobile vs Desktop promotions.
1b. Select your design type, this will indicate what part of the screen you would like for the promotion to appear on
1c. Next, select the type of promotion you would like to use.
Website message is a single-page promotion where you can display a message to your customers to inform them about any promotions, events, or business details that could impact them. More details can be found here: website messaging type
Lead Capture type is commonly used to gather information about a customer such as an email and phone number. More details about setting this up can be found here: lead capture type.
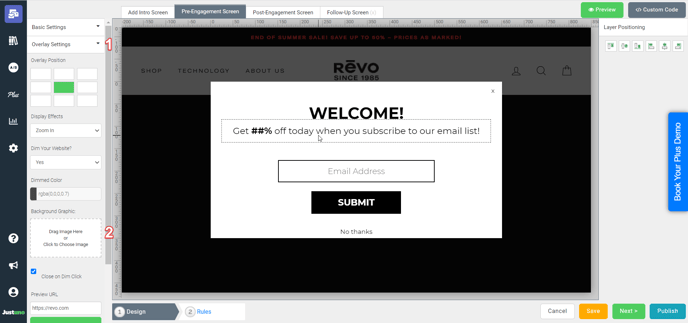
2. After selecting either a prebuilt promotion or a custom one, you will be brought to the Design Canvas.
Adding a background image
Once the background of the overlay is highlighted, head to the image icon on the left of the design canvas and find an image you'd like to use. More details on adding an image can be found in this article: Adding an image Overlay
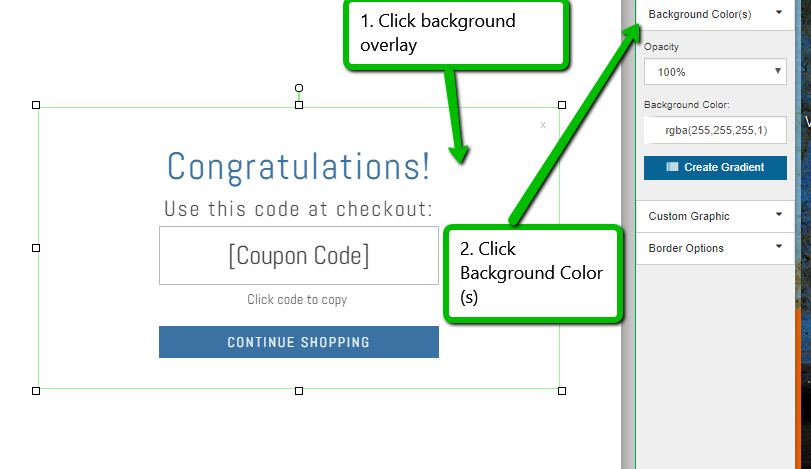
Change the Background Color
Social Media Options
Next, you have the option to add in our social information. These settings are located after the social icons are highlighted in the settings wheel at the top of the design canvas. The same goes for the location of your email settings and the email after sign-up feature.
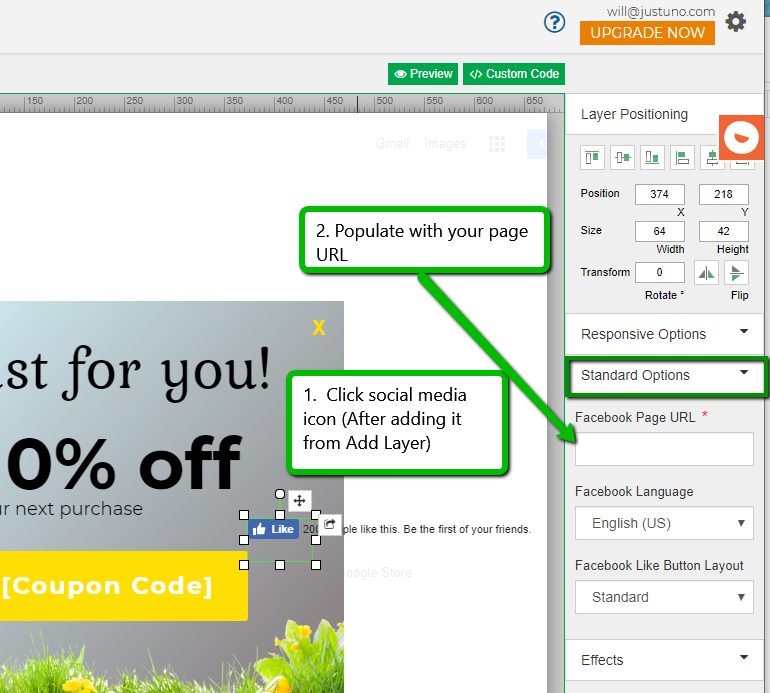
If you don't like the social options that are presented automatically head to the "Add Layer" tab on the left, then choose which social integrations you would like to add.
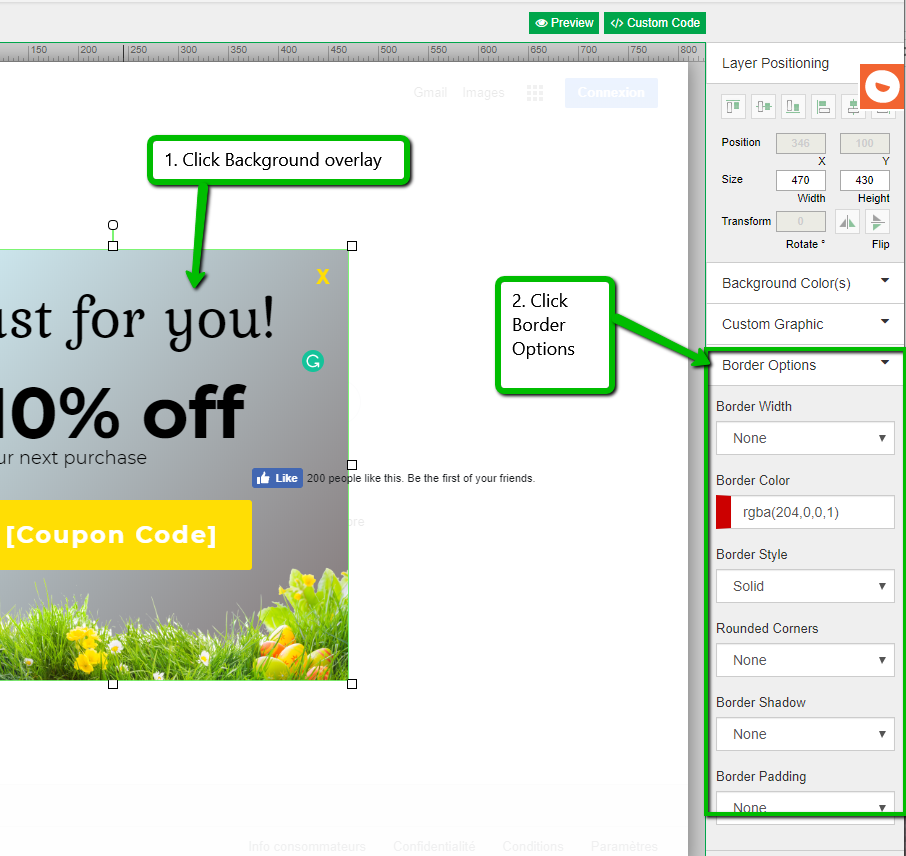
Border Options
Let's add a border to the overlay. In this area, you'll find all border options.
Here you may adjust things such as the promotional border color, thickness of line, rounded edges, and more:
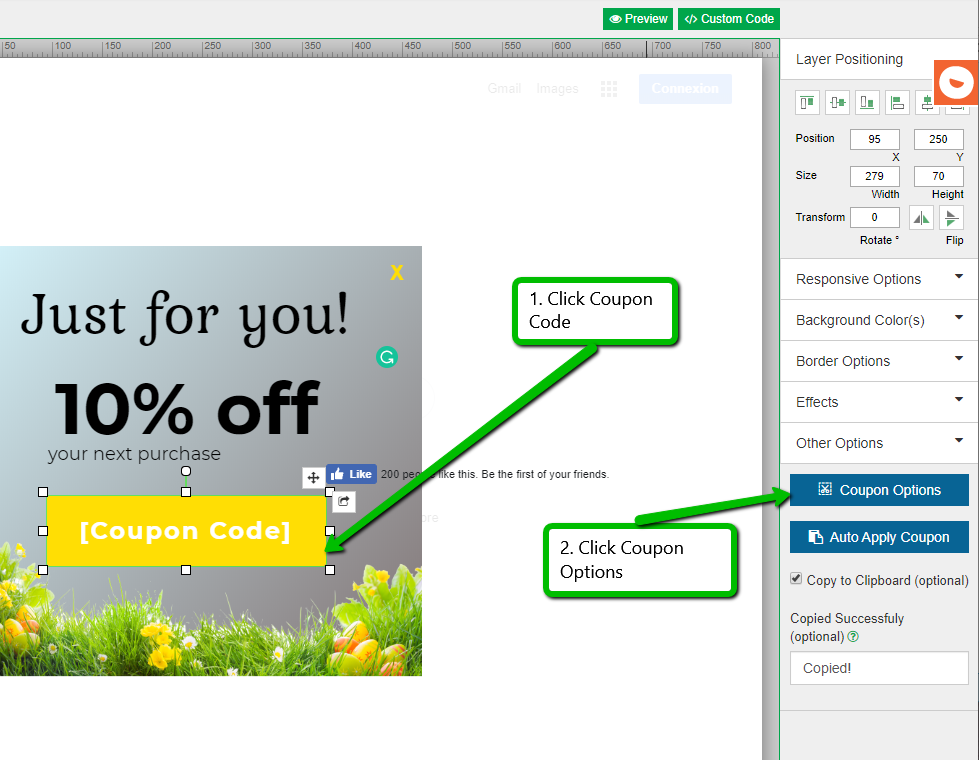
Coupon options
Lastly, let's add in our promotional code and post engagement copy. Head to the post-engagement tab on your overlay and highlight the coupon area. Then you'll find the settings button appear on the top of the design canvas.
Note: If you do not want to present a coupon after engagement but rather a link, please choose this option in the "pick your promotions section".
More details on the coupon types can be found here:
How to add and edit a coupon overlay
Why isn't the coupon code working?
We have several other resources regarding our coupons so please feel free to check out our support page for additional information.
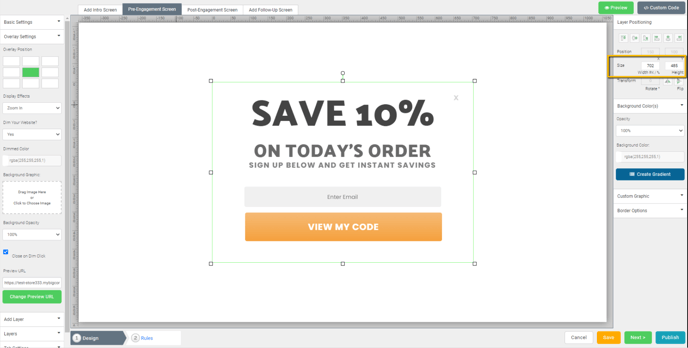
Width Settings
There will be times when using a promotion such as a banner where you would like the promotion to take the full width of the screen. In these scenarios, the width settings will be helpful to achieve this.
This will present the option to set either a fixed pixel width or a percentage of the screen that you would like to take up. The percentage function will work best as a responsive option, for a full-width screen you can set the width setting to 100%. Setting a fixed pixel width will display it the same size regardless of the screen size.
Width settings can be found in the top right-hand corner of the promotion settings:
FAQ
Why can I not see my promotions?
A full list of integration and steps can be found here: Jusutno Integrations
KNOWN ISSUE: When adding hex codes to change the font color on a layer, a # must be present in the hex or the font will appear black on the preview tool and on the live site.
Visit Justuno @justuno.com