This Justuno support article covers the steps needed to configure the Active Campaign Design Canvas Integration
At a glance:
1. Prerequisites
2. Instructions
Last updated 8/17/2021
- Display your SMS capture field on a different screen from your email capture field. *Please see How to Set up a Two-Step Form for instructions to display on separate screens*
- Cannot require the SMS capture field, it must be an optional field
Prerequisites
- Justuno Account
- Active Campaign Account
Instructions
API Credentials
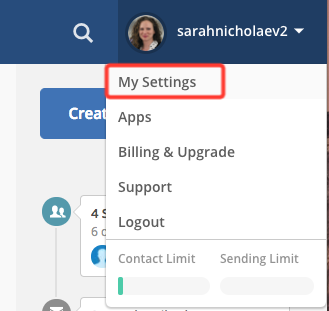
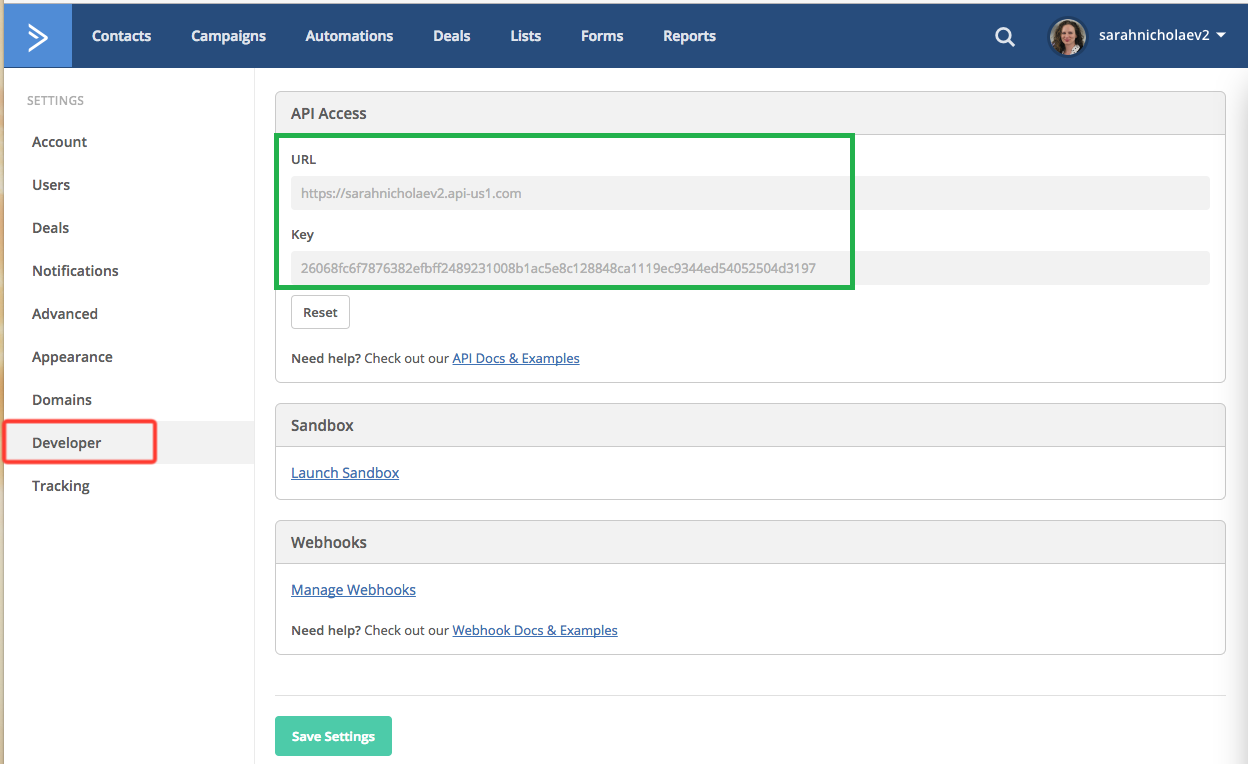
- Log in to your Active Campaign Account and navigate to Settings > Developer
2. Copy the URL and KEY for later use in the configuration.
Log in to Justuno
Navigate to Justuno.com and log in using your account credentials.
Edit Promotion Design
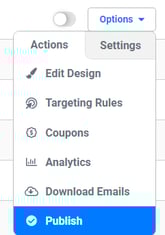
- Click the Promotions tab at the top
- Click Options next to the desired Promotion then select Edit Design
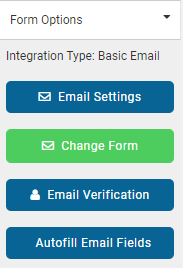
3. ADD/EDIT Email Form
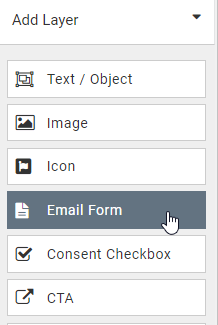
4. To ADD a new email form, select Email Form under the Add Layer option on the left side and drag it onto the Promotion Canvas. For a promotion with an existing email form layer, click on the email form layer, and then select Email Form on the right-hand side
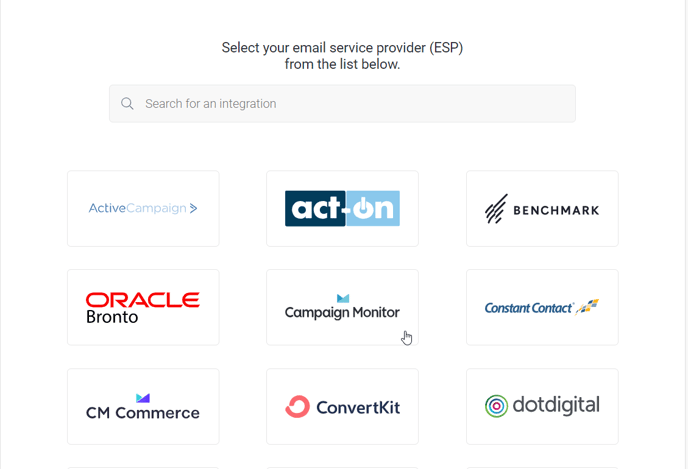
5. Click Connect Provider, then on the next page select Connect ESP.
6. Select Campaign Monitor
Active Campaign Authentication
When prompted, enter your Active Campaign API URL, and KEY from the first step in this document.
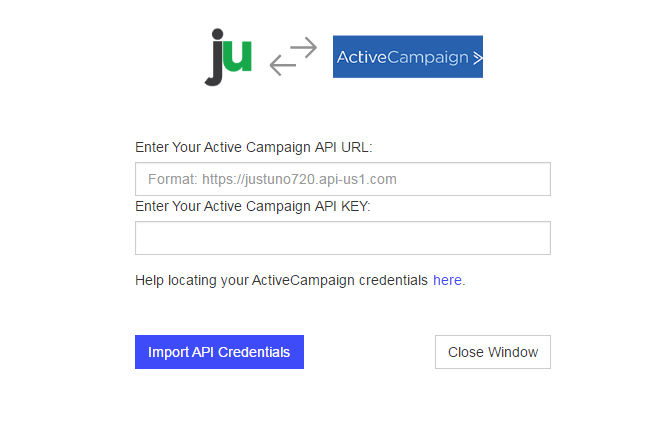
Click "Import API Credentials" and you will move on to select a Mailing List.
Active Campaign Mailing List Selection
Once authenticated, you will see your current Active Campaign Mailing Lists appear. Select one list you would like contacts to be added to.

Active Campaign Field Definition
We return a common set of Active Campaign properties for you to use within the form. You can set additional options for each field, such as Required or Hidden properties.
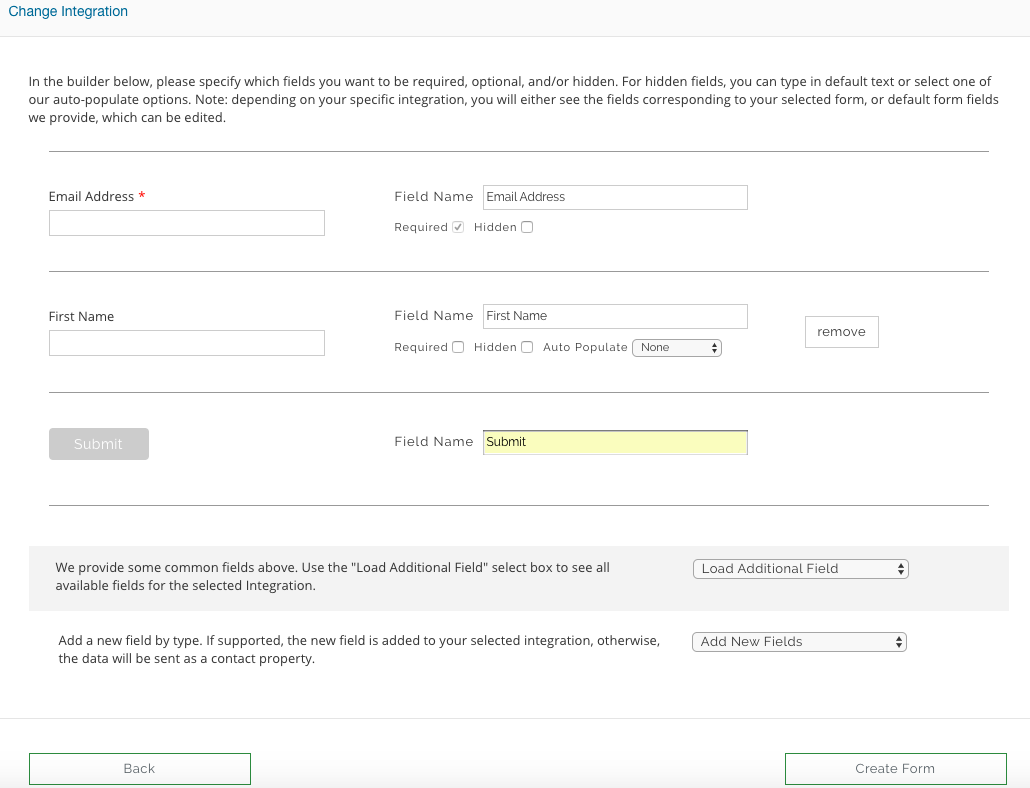
If you would like to use your Active Campaign Custom Fields, then click "Load Additional Fields" and add a new one simply by selecting "Add New Field".
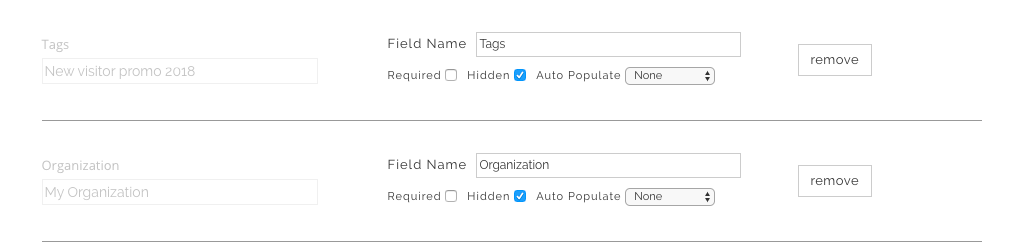
Please note, we have added support for comma-separated Contact Tags and an Organization Name. Enter the name of a current Organization or a new name and it will be created. Be sure to mark these fields as HIDDEN so they don't show on the form.
Create Form
- If you are sending information that does not require a user to fill anything out, ensure the hidden setting is checked. We have added a few hidden fields that are commonly used:
- Current URL (the URL a user is on when they submit the form)
- IP address (the visitor’s IP address)
- Coupon code (the coupon code they receive in the post engagement)
- Referring URL (the URL the user clicked on to get to the new page in your website.)
- Previous Domain Referring URL (the URL of the last page)
- First URL visitor landed on (the URL the user first landed on)
- Once you have finalized the fields to use, click “Create Form” and then arrange your promotion fields as desired.
- Preview and publish your changes.
Once you have arranged all fields, be sure to SAVE and then Preview or Publish your Promotion.

Visit Justuno @ justuno.com