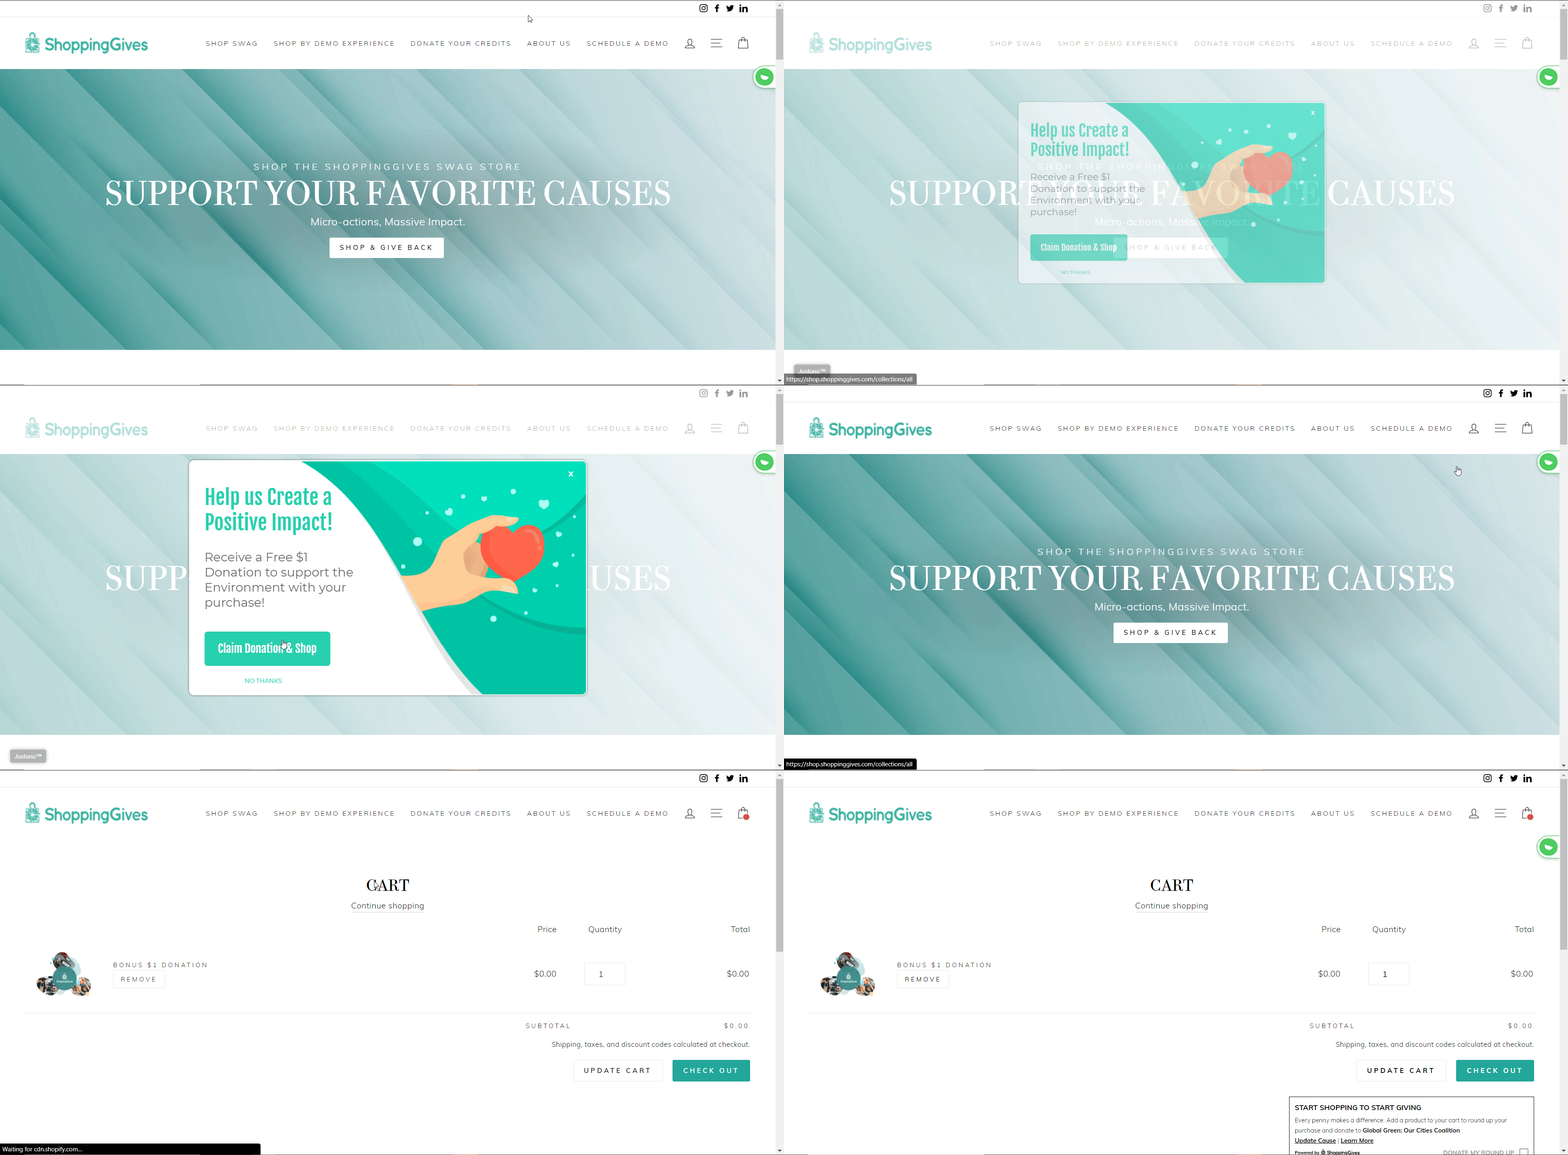
In this article, we'll go over two separate use cases leveraging Justuno and ShoppingGives integrations.
Getting started
- Requirements: Access to your ShoppingGives and your Justuno account
- Both apps must be installed on your site. Click here to create a ShoppingGives account.
Triggering ShoppingGives Module with Justuno CTA Click
In this setup, by utilizing Justuno’s Design Layers and a little bit of Javascript, we’re able to trigger the ShoppingGives Donation module with a Button click.
Step 1. Add a CTA to your Justuno Design. You can name the layer “CTA” for reference in our code later
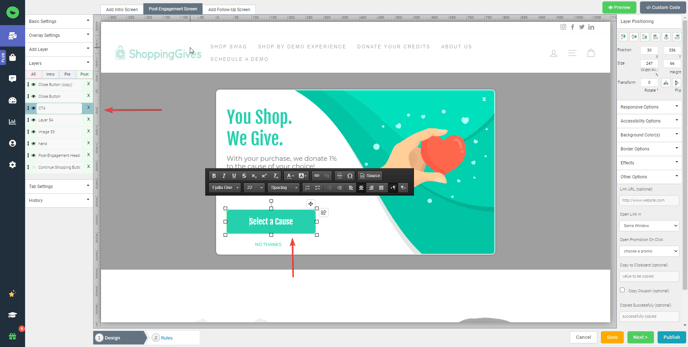
Step 2. Copy and paste the below code under Custom Code > POPUP JS
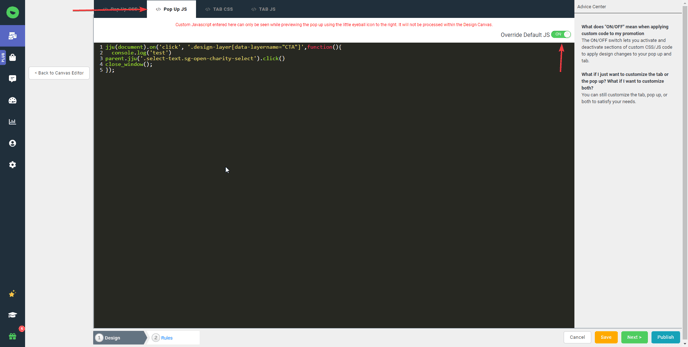
jju(document).on('click', '.design-layer[data-layername="CTA"]',function(){
  console.log('test')
parent.jju('.select-text.sg-open-charity-select').click()
close_window();
});
Notice we’re using the term “CTA” within this code to reference the Design Layer for the button we created previously.
Step 3. Adding Advanced rules to trigger the popup if a cause has not been selected. For this, we use our Advanced rule “Matching Element Exists” and use this specific reference as a value
span:sContains("Select Cause")
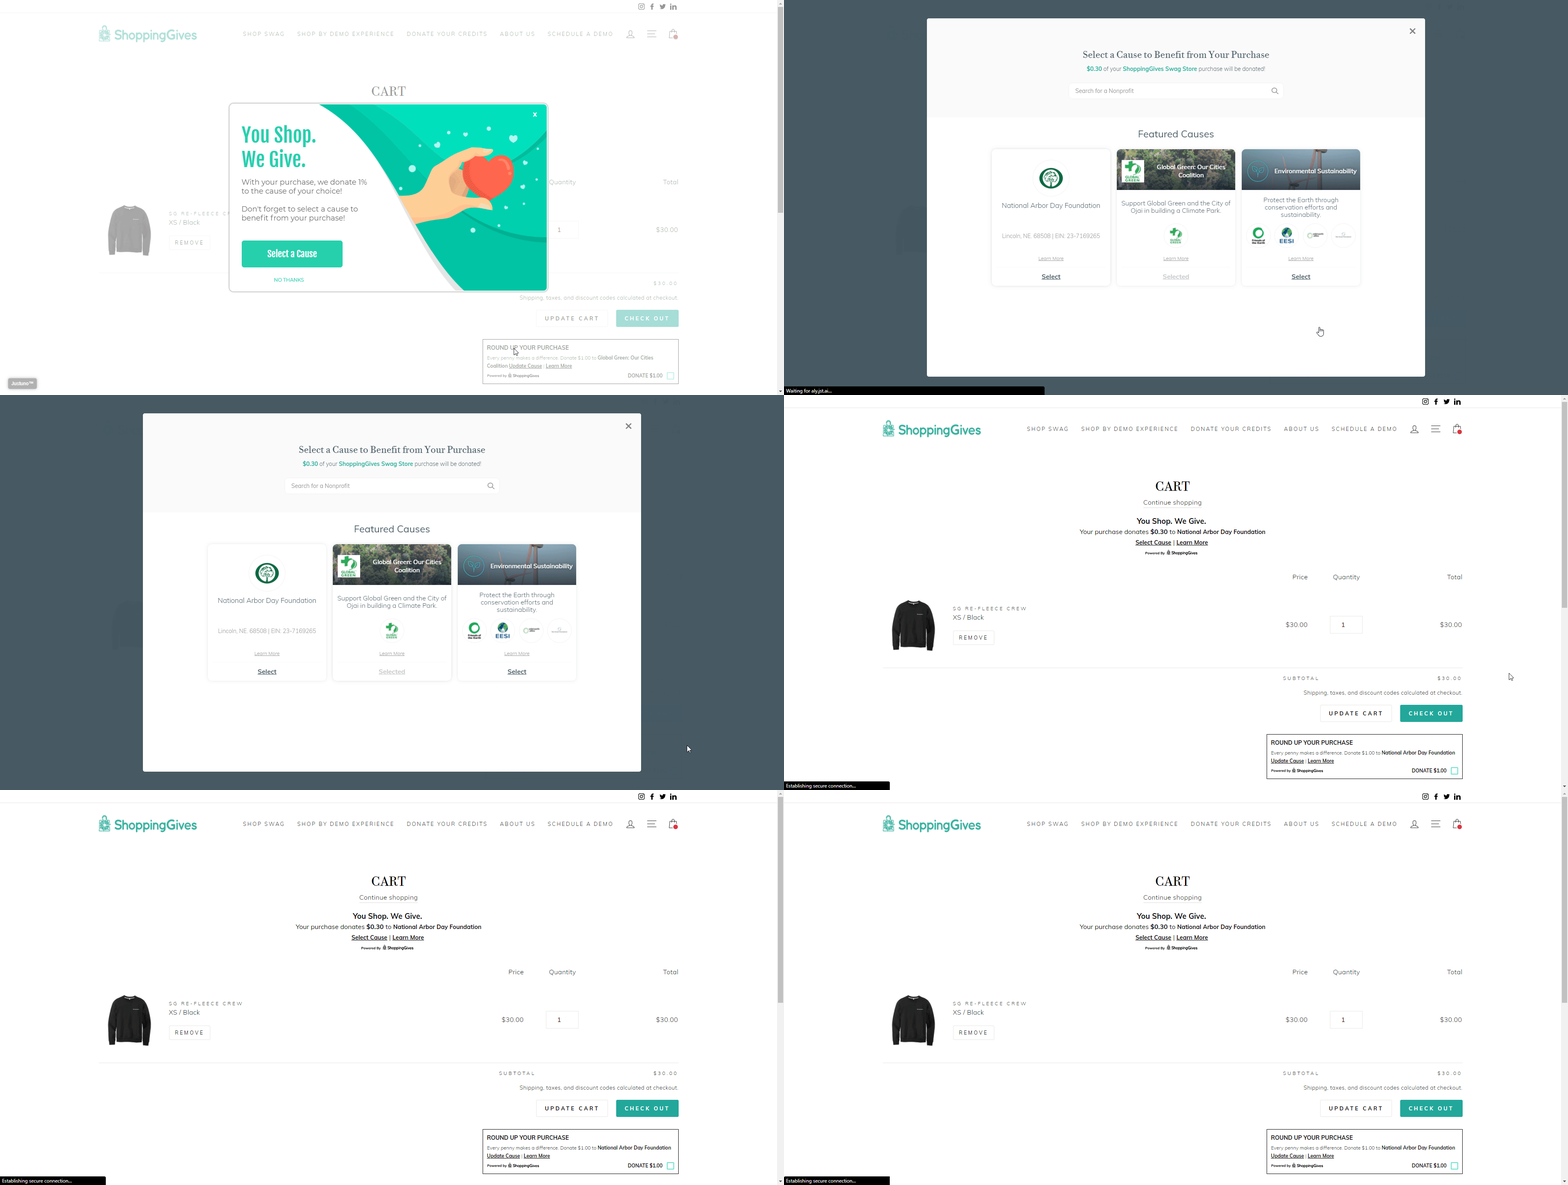
In the example below, we're able to target visitors in the cart who haven't selected a cause, serving them the module on the CTA click.
Add Free Donation to cart
In this setup, we’ll show you how to automatically add an item to the visitor's cart using a CTA Button. In the example below, we’re using the setup to add a free $1 donation to the customer cart.
Step 1. Create a CTA layer we'll use to add the item.
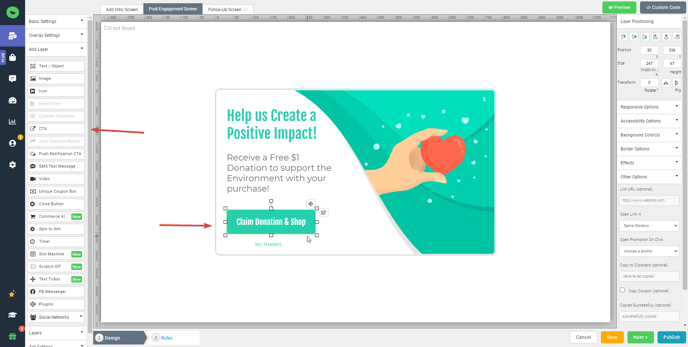
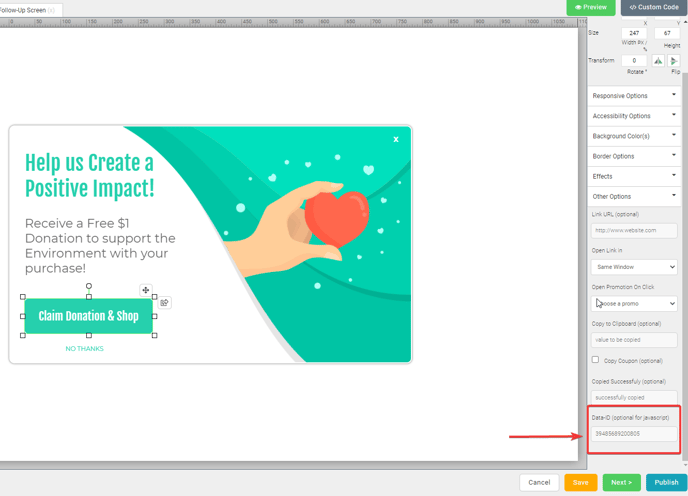
Step 2. The second part of the design is adding the product ID that you want to add to cart under our “Data-ID” setting seen here.
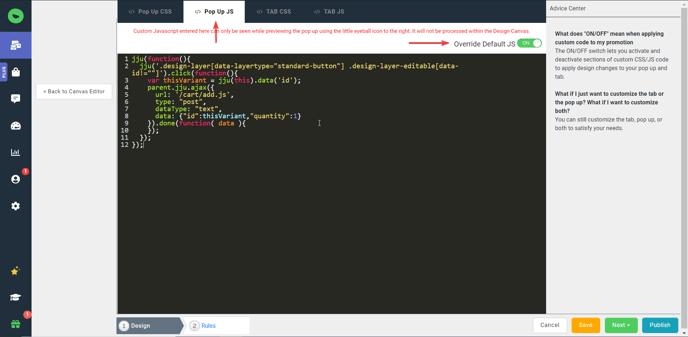
Step 3. Copy the following Javascript and paste it under Custom Code “POPUP JS.”
jju(function(){
  jju('.design-layer[data-layertype="standard-button"] .design-layer-editable[data-id!=""]').click(function(){
    var thisVariant = jju(this).data('id');
    parent.jju.ajax({
      url: '/cart/add.js',
      type: "post",
      dataType: "text",
      data: {"id":thisVariant,"quantity":1}
    }).done(function( data ){
    });
  });
});
Step 4. Create targeting rules. In this example were targeting visitors who intend to leave the site, serving them an opportunity to receive a free $1 donation.
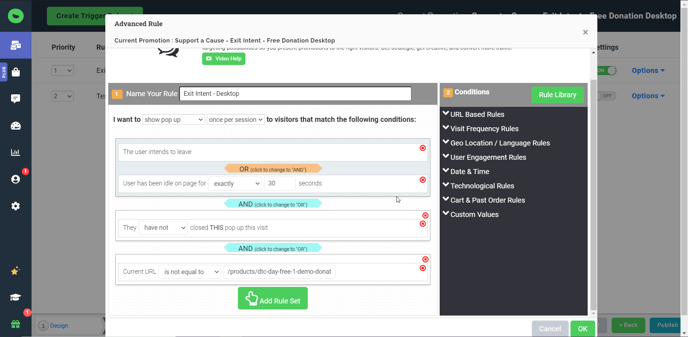
This allows us to provide an incentive for visitors to continue shopping on site.
