Covers how to set up the Marketing Cloud Integration via Justuno
Last update 10/04/2021At a glance:
Introduction
Prerequisites
Instructions
Introduction
Marketing Cloud is primarily used to maintain customer information and for sending emails and tracking customer activity. One could send emails from Salesforce through Marketing Cloud Connector, and then track the email information through Salesforce. Below are the instructions for integrating Marketing Cloud into your Justuno Promotion.
Prerequisites
Your Marketing Cloud User Account will need API Access permissions. Below are the steps to update the settings on the Marketing Cloud side.
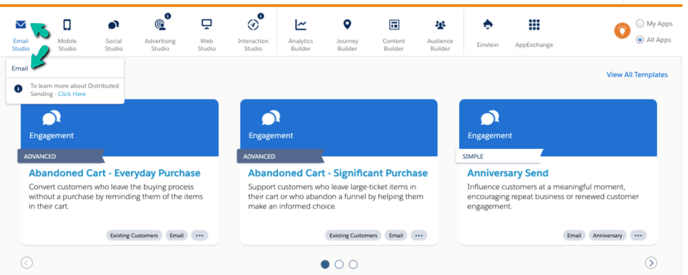
- Start by going to Email Studio -> Email. Then select the Admin tab.
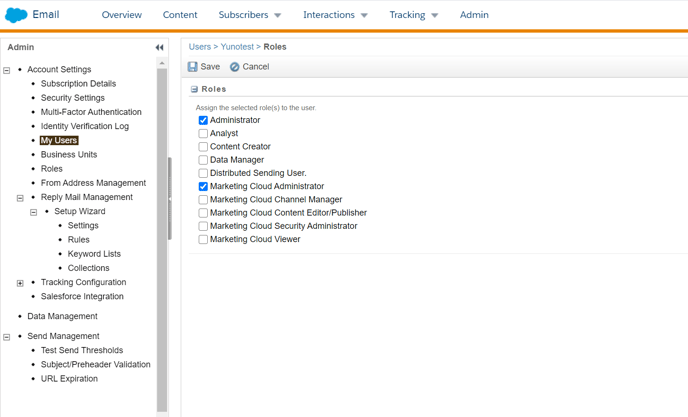
- Once on the Admin tab, select My Users.
- Check the desired user and then choose Manage Roles.
- You will reach a Roles and Permission area. Click Edit Roles.
- Check the Administrator and Marketing Cloud Administrator options & save.
- Visit my My Users and select the user in question. Ensure it has API access checked.
If using a data extension, you will want to follow the steps below to ensure the data arrives into the data extension.
In order to properly capture emails for your data extensions with Justuno, you will have to add a specific field. This will need to be done before you integrate the data extension with Justuno.
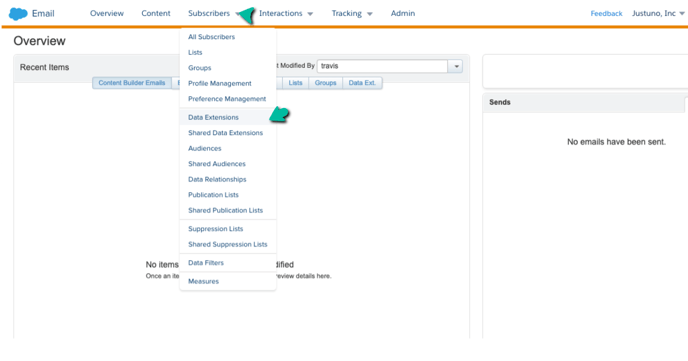
- From the overview page, hover over Email Studio (at the top bar) -> Click Email.
- Hover over the Subscribers tab -> Click Data Extensions.
- Select your data extension by clicking on its name.
- On the right side, locate the Fields section -> Click Edit Fields.
5. The email field should be named “EmailAddress”. The data type should be “EmailAddress” as well.
6. Click Save Fields and you are all set to begin linking up your Marketing Cloud Data Extension to a promotion.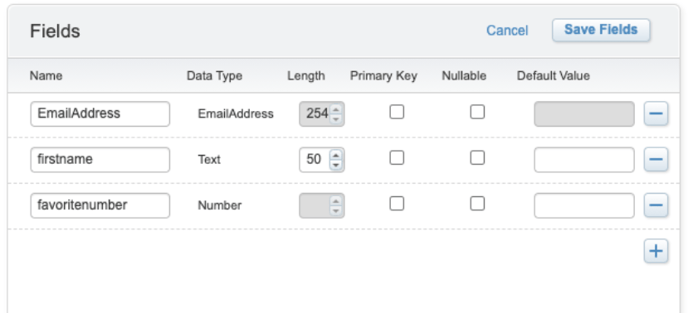
Security Settings
- Within the Setup page (Security > Security Settings) for the account attempting access, the Enable Username and Password for Web Services option, should be set to Yes.
.png?width=688&name=LWR_Recording%20(1).png)
Login IP Allowlist/ Domain Allowlist
Another area of concern is the Login IP Allowlist and Domain Allowlist.
.png?width=688&name=LWR_Recording%20(2).png)
- If the account has Domain Allowlist set to Activated, our domain (justuno.com) will need to be added to the list with the subdomains box checked.
- The list of IPs one can whitelist is below.
54.39.185.155
54.39.182.114
54.38.246.90
144.217.255.234
144.217.255.236
167.114.0.182
167.114.0.171
142.44.139.159
142.44.139.154
142.44.212.53
142.44.212.54
142.44.212.55
142.44.212.56
54.39.123.127
54.38.246.85
Instructions
1. Within the Justuno Design Canvas, find the email form in the layers area. Select Change Form for the email field.
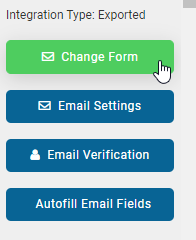
2. Once the integrations appear, locate and click on the Marketing Cloud button to launch the configuration options.
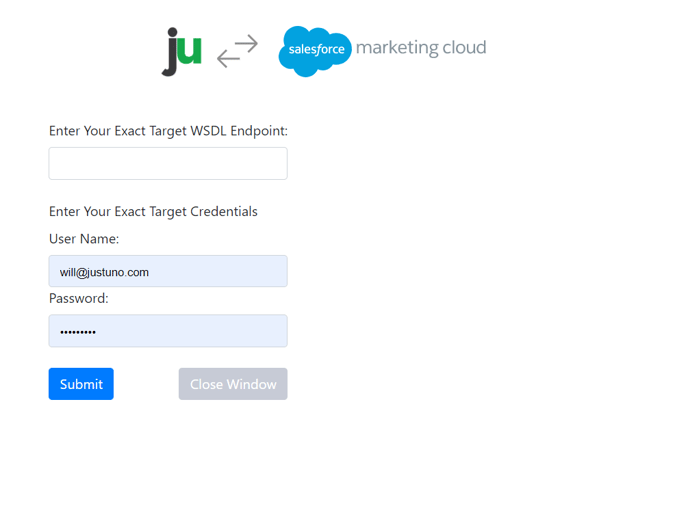
a. Enter your ExactTarget Marketing WSDL Endpoint (as shown in the User's profile within Marketing cloud), Username, and Password
b. Choose the marketing cloud list /data extension and click Save.
3. Your Justuno will now sync new signups to your selected Marketing Cloud list as they come in.
Visit Justuno @ justuno.com