Audience sync allows you to connect your Justuno audiences at the promotion level to Google Ads and Facebook. These audiences are based on the targeting rules you’ve set for your promotion
At a glance:
Prerequisites
Accessing Audience Sync within your Justuno promotion
Connecting your Ad Account
Syncing your Justuno Audience to the Ad Platform
Disconnect or Pause your Audience Sync
Last updated 05/12/2022
Prerequisites
- You can find the audience sync link under the promo name and in the promo settings dropdown. It will only exist on promos that have a lead capture form on them.
- This feature does not require specific Email Service Provider (ESP) integration.
- Ad accounts have eligibility criteria to use customer lists as audiences:
- Google: $50K lifetime spend, account live at least 90 days, no policy violations
- Facebook: accepted terms and conditions, ad account is in a business manager
- Audience Sync does not auto-apply synched audiences to campaigns, ad groups, or ad sets. You will need to log into your ad account to apply them.
- Google audiences can be used for Youtube, search, display, and shopping ad targeting.
- Facebook audiences can be used for Facebook and Instagram ads.
Video Walkthrough:
Accessing Audience Sync within your Justuno promotion
1. Navigate to the promotion you'd like to connect to and click on the Options menu.
2. Click Audience Sync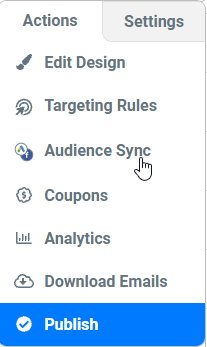
Connecting Your Ad Account
Note: we will cover both Google and Facebook in this section.
1. Click “Connect” for the ad network you’d like to connect.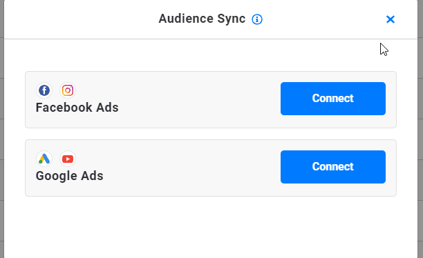
2. Depending on which you choose, you’ll be taken through the Google or Facebook connection workflow.
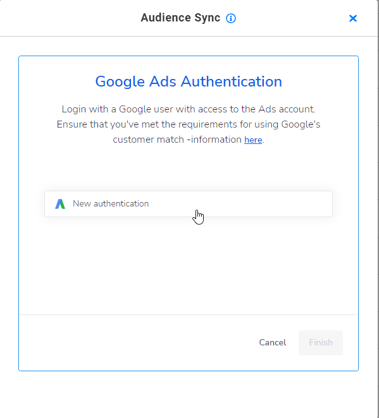
Google:
1. Click on “New authentication”
2. A pop-up will come up asking you to log into your Google account and confirm the account is linked. Be sure this account has at least standard access to the Ad account/MCC you’re looking to connect to.
3. Approve the permission for Justuno to manage your account (this is needed to push emails to your audiences).
Warning: Audience Sync WILL NOT work if permissions aren't approved.
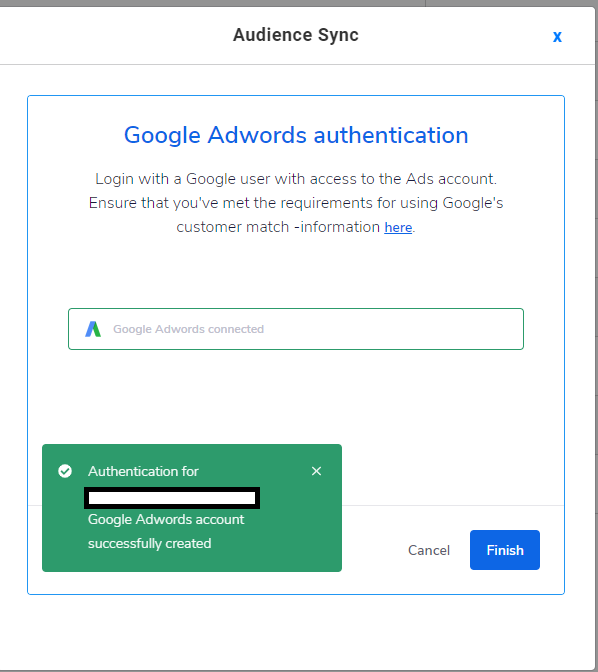
5. Click Finish.
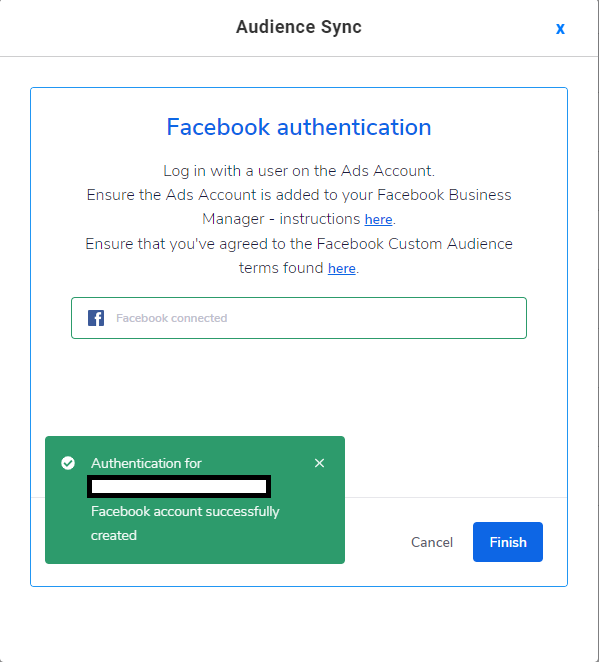
Facebook:
1. Click on New Authentication
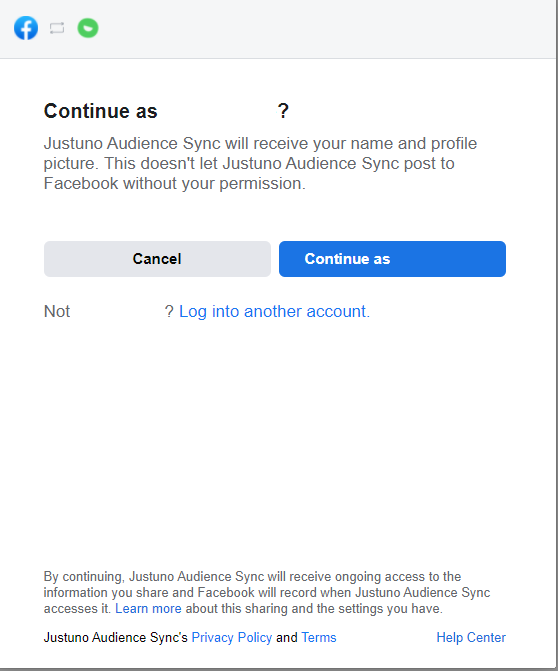
2. Confirm you’d like to connect your Facebook profile to Justuno.
a. Important: the Facebook profile will be pulled from the one that’s logged in your browser. If that’s not the correct one, be sure to switch.
Note: The profile you connect must have admin-level for the Facebook Ad account you’re looking to connect.
6. If successfully connected, you’ll see a green box pop up in the bottom left corner.
Syncing Your Justuno Audience To The Ad Platform
1. Choose the account you want to connect to.
2. Select either “create a new audience” or “select audience”
3. If you choose to create a new audience, type your chosen name and click “Create New Audience”.
4. Once you’ve chosen your audience, click “Apply”.
5. Successful syncs will show a green banner on the bottom.
Note: Once a promo is connected to an audience there is a Google icon that will show under the promo name to signify it is currently connected.
1. Select the Facebook ad account you want to connect your audience to.
2. Choose whether you will “create a new audience” or “select audience”.
3. If “creating new audience”, type in a name and click “Create New Audience”4. Once the audience is selected, click “Apply”.
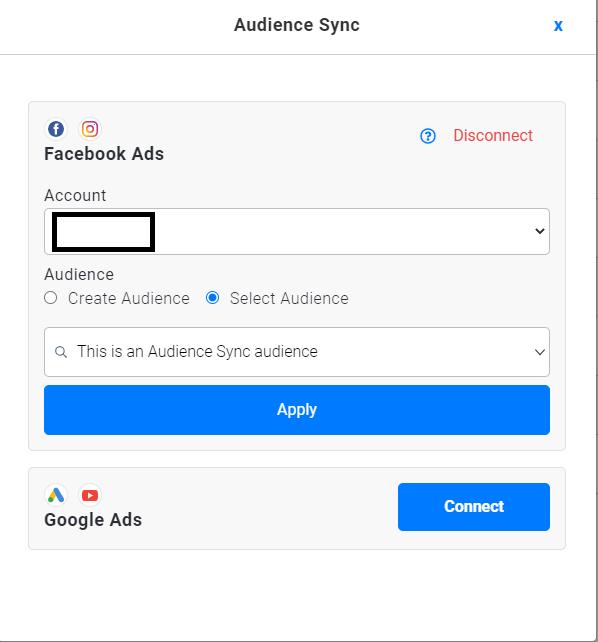
5. If successfully synced, you’ll see a green bar show at the bottom of the screen.
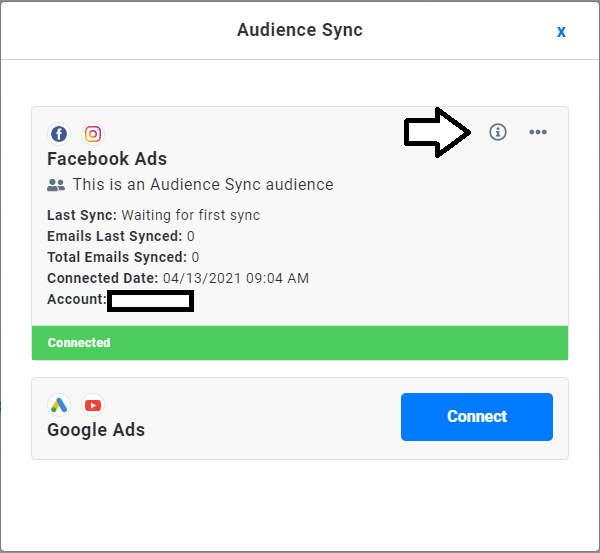
Note: Once a promo is connected to an audience there is a Facebook icon that will show under the promo name to signify it is currently connected.
Additional Functionality
Reviewing Sync Reports
- Click on the “i”
- To close, click on the “i” again.
 1.
1.
Pausing/Editing Audience Sync
- Click the "options" button.
- If you’re looking to pause the sync (but keep the connection between the current promotion and audience), choose “Pause Sync”. This will halt the hourly syncs from your Justuno account to your ad account.

- If you’re looking to change the destination of your Justuno emails to a different audience in the same ad account, choose “edit audience”.
- If you’re looking to change the ad account entirely, or no longer want any connection between the Justuno account and the connected ad account, choose “Disconnect”*.
Note: Choosing this option will disconnect the ad account from all promotions in your Justuno account. If you’re only looking to halt one promotion, choose “Pause”.