How to display promotional banners instead of Justuno overlays
At a glance:
Last updated 8/31/2021
Introduction
Our banner feature can offer new ways to provide information to your customers. Any details on a sale, a timer to increase engagement, or any type of informational message. The banner can be placed at the top or bottom of the page.
If you notice that the banner is covering up any part of the site such as the menu or the sliding cart for example, we recommend to place the banner in-page. Guide for this can be found here: In page promotions | Justuno
Instructions
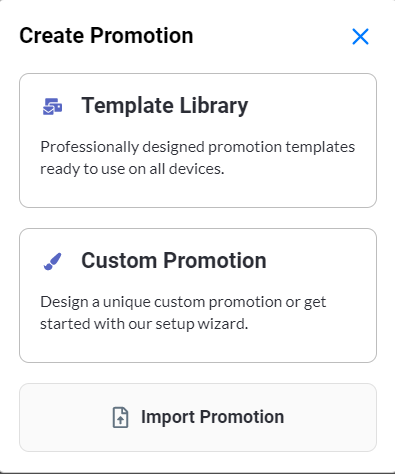
1. Click 'Create Promotion' within the top right corner of the promotions page and select 'Custom Promotion' to create your own design. This is what we will cover in this guide.
Feel free to browse through our template library for any readymade banners. If a template from the template library is used, you can skip the following steps and begin to setup your promotional rules.
2. Once selecting a Custom Promotion, enter a promotion name then click Continue.
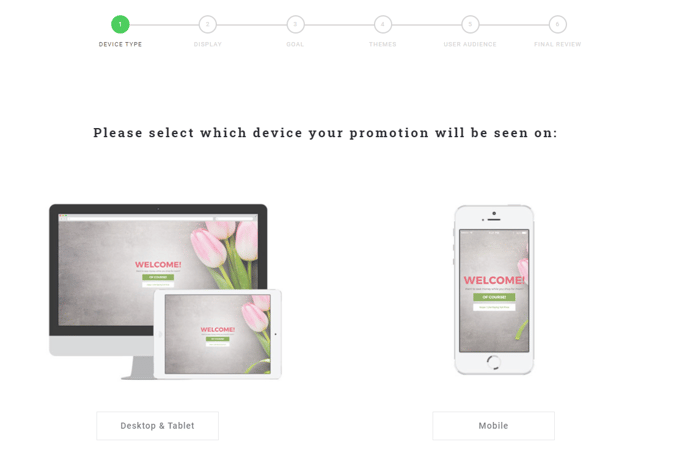
3. Select which device you want the promotion to be seen on:
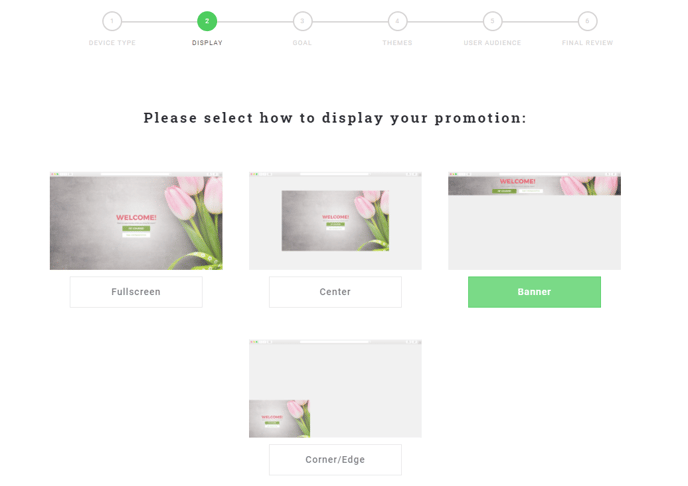
4. Select banner as the display type:
5. Select banner location. This can be changed later through the design canvas.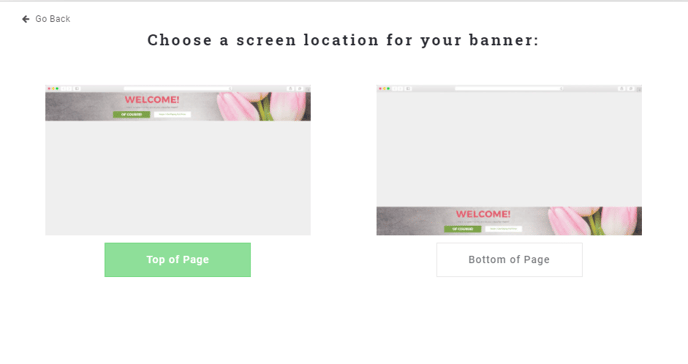
6. Select your goal for this promotion. If you want to collect any information from the customer such as name, email, phone number, etc, select 'Lead Capture'.
If you would like to just show a message to the customer then 'Website Messaging' will be the best option':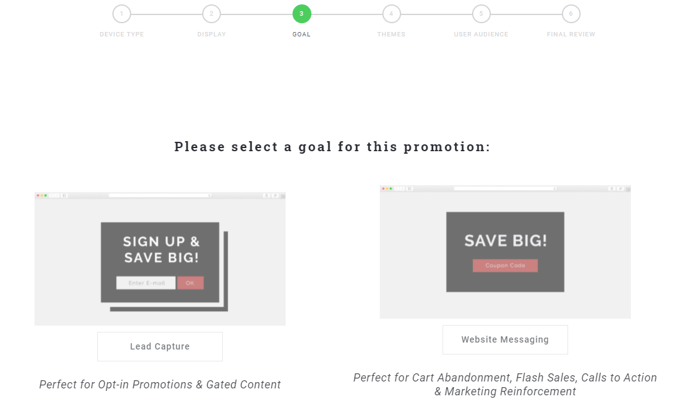 7. Select your theme and an audience. This can all be edited later through the design canvas if you decide the promotion should be different.
8. Make any additional design changes. Rules will need to be added just like a regular promotion to set when the banner should appear.
9. Be sure to save and publish any changes and you should be all set!
Visit Justuno @ justuno.com