How to integrate with SMSBump in Justuno and pass phone numbers collected from visitors.
At a glance:
Last updated 8/31/2021
- Display your SMS capture field on a different screen from your email capture field. *Please see How to Set up a Two-Step Form for instructions to display on separate screens *
- Cannot require the SMS capture field, it must be an optional field
Prerequisites
SMSBump (Yotpo Email Marketing & SMS) can be utilized with Shopify stores only, please ensure you already have the SMSBump app downloaded on your Shopify store as well. This integration will only pass phone numbers but can be connected at the same time as your email service provider to collect more information in the same form.

Instructions
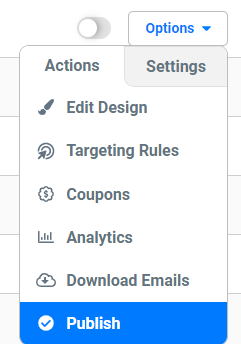
1. In promotion management, click the Options menu next to the desired promotion and select Edit Design.
2. If an email layer already exists, move to the next step.
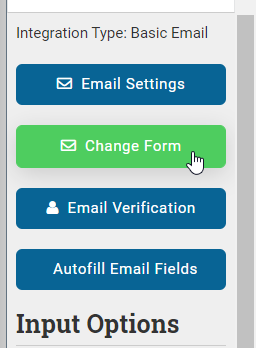
Within the design canvas view, find the Email Form in the layers area and click to add that layer to the promotion overlay. While either the Email Form field or the submit button field is selected, hit Change Form on the right-hand side of the editor.
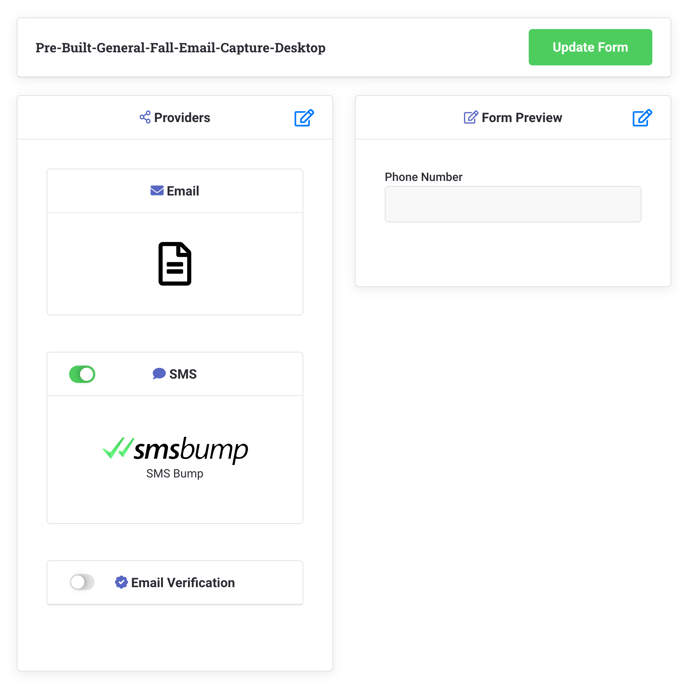
2. Click the Connect Provider tile to bring up the three types of providers integrated within Justuno, then click SMS Provider.
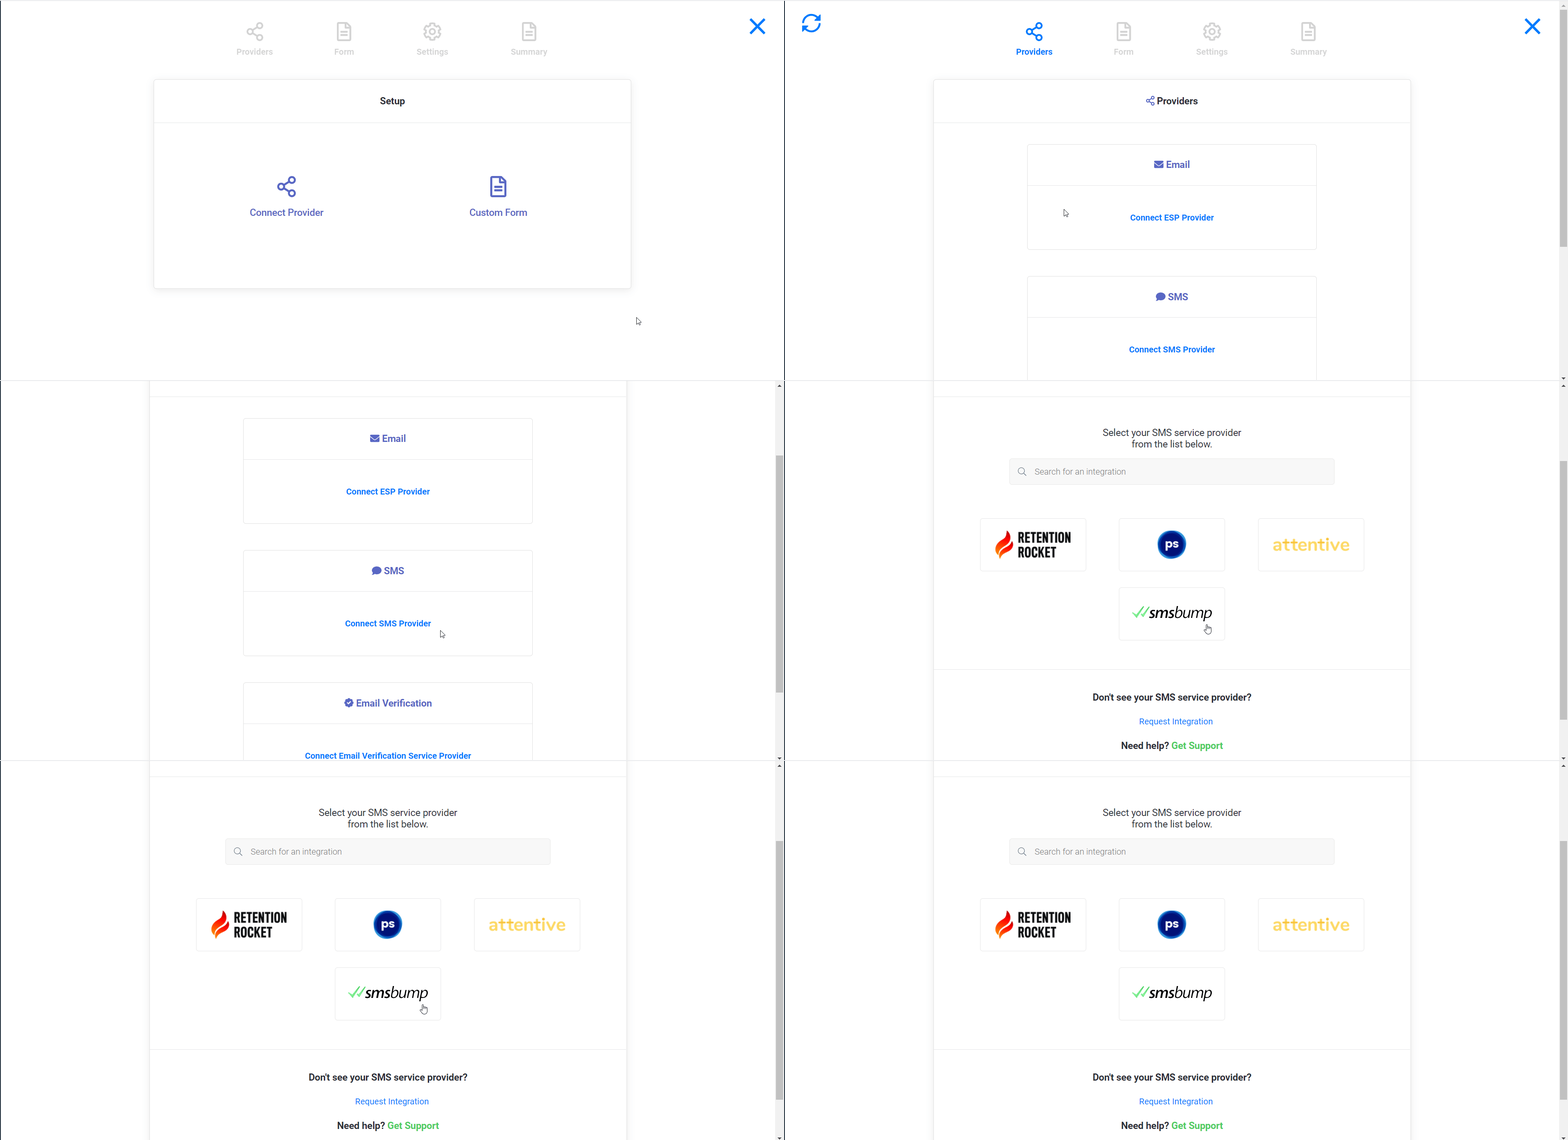
3. Click SMSBump, you will then have the option to connect the desired ESP or email verification system. If you select next or connect to an ESP, you will have a pre-populated email field that you can hide or capture. You should also see the phone field.
Through the SMSBump providers, they check for valid, invalid, toll-free Google/virtual numbers, unsubscribed, landline numbers, etc, and marks them, so that texts are sent only to valid phone numbers.
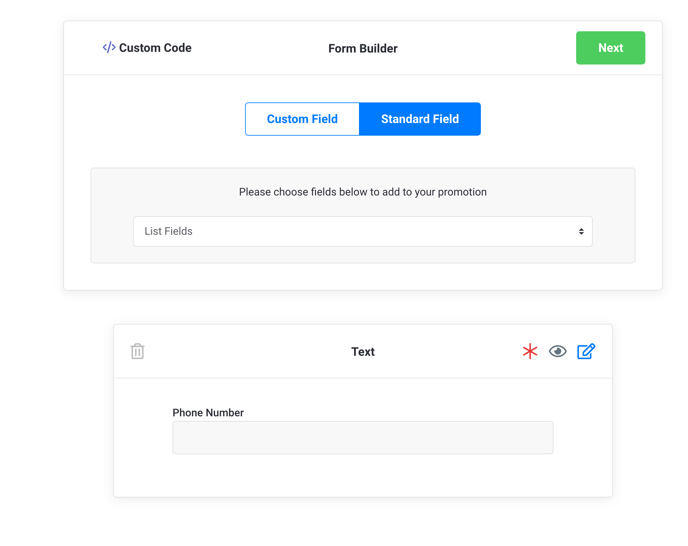
4. Click Create Form and edit the design to your liking.
Visit Justuno @ justuno.com
