In this Justuno Support article, we will cover how to setup your form to collect SMS in Sendlane
At a glance:
Prerequisites
Instructions
Last update: 05/17/2022
- Display your SMS capture field on a different screen from your email capture field. *Please see How to Set up a Two-Step Form for instructions to display on separate screens*
- Cannot require the SMS capture field, it must be an optional field
Prerequisites
- To use Sendlane SMS you must activate the SMS feature in your Sendlane account. You will then need to generate an API key to utilize Sendlane.
- A consent checkbox will need to be included
How to generate an API Key to use with Justuno.
Collecting the Sendlane API key
-
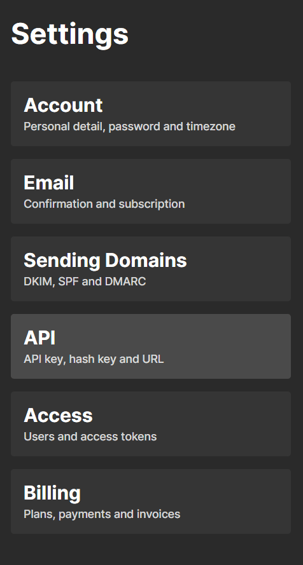
Log into your Sendlane account and navigate to Settings, then API.
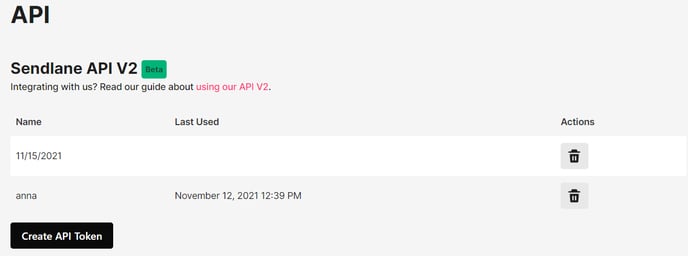
Select Create API Token
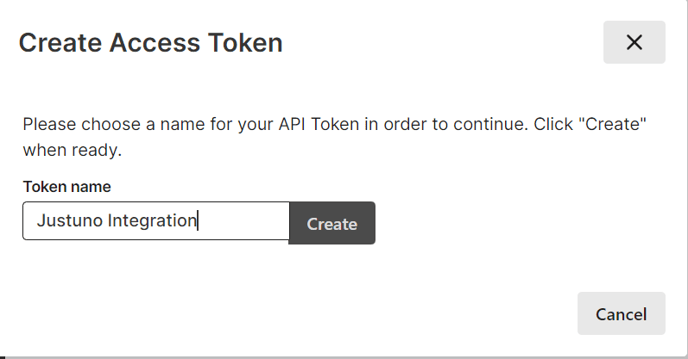
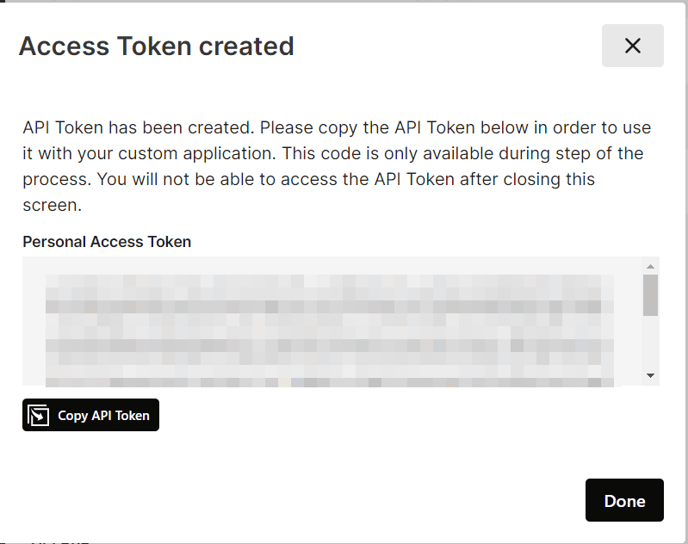
Name your API token, and then copy your API token.
Note: Please ensure when creating custom fields they are created in Sendlane before they are manually created in Justuno or the information will not pass to Sendlane (custom fields do not auto populate on Justuno).
Example: create a Business form field within Sendlane, then when building the form in Justuno you can create the Business field.
Ensure the name of the personalized field is tied to no spaces. As long as the name matches both Sendlane and Justuno exactly, that extra data will sync over into the Personalization section of a contact profile.
Instructions
Note: If you are also collecting email in the same promotion please ensure your form is set up to collect email first THEN sms.
1. Click the Options menu and select Edit Design. If an email layer already exists, move to the next step. Within the design canvas view, find the Email Form in the layers area and click to add that layer to the promotion overlay.
2. While either the Email Form field or the submit button field is selected, hit Change Form.

3. While you are creating an SMS lead capture, you will still choose to connect the ESP provider as we are simply adding an SMS field to your Sendlane form.
4. Scroll down, and select the Sendlane option, then enter your API key.
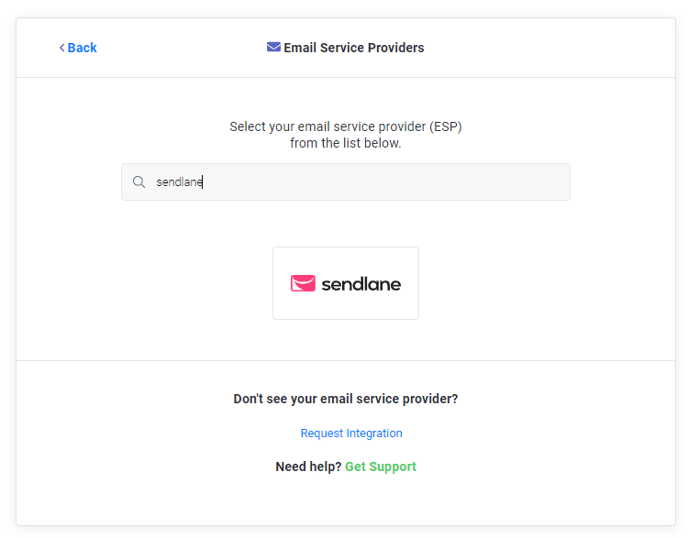
5. Once the API credentials are accepted by the authentication process, you will see that Klaviyo has successfully been integrated into your promotion. Now, click Next. And select which email lists you would like to send submissions.
6. Upon finishing the selection of desired lists, a form will be generated from the associated Sendlane fields, and can now be edited within Justuno's form builder where you can add your SMS capture. The form must have either an email or phone number or both. If you do not have one of the two it will not allow you to create the form

7. Please note you can also add an SMS Consent field if desired. This integration will automatically pass the consent when a number is spotted. To apply the extra consent, you can use the the Custom Field button and then select Consent checkbox option from the dropdown.
8. Click Next, then configure the Klaviyo integration settings. Once finished configuring, click Next.
Note: Justuno has the ability within the Klaviyo integration to either enable or disable duplicate SMS subscriptions per list. This built-in function will cross-reference the SMS numbers that are contained within the list to be synced with Justuno and will filter accordingly. This feature will work regardless of whether or not the list being synced is preexisting and contains subscribers from a date prior to the current promotion's creation.

9. Review your form then click Create Form and edit the design to your preferences.
Use your new SMS integration to create SMS marketing opt-ins. Check out how in our Academy course and start building a text subscriber database. Justuno Academy
