Looking to integrate the GetResponse Design Canvas Integration? Get started with the steps below.
At a glance:
Last updated 9/1/2021
Please Note: This email service provider does not offer SMS capture services. You cannot pass SMS numbers to your ESP with this integration and any existing SMS integration will be disconnected.
Introduction
This Justuno support article covers the steps needed to integrate the GetResponse Design Canvas Integration. This integration is a requirement for all GetResponse customers. Our Step 3 GetResponse integration will be no longer supported after September 2017.
What we will cover:
- Connection to Justuno
- How to Add List
- How to Add and Hide Fields
- Auto-Populate Fields (Collect IP Address, Coupon Code, Current Website URL, Referring URL, Previous Domain Referring URL, First URL visitor landed on)
Prerequisites
- Justuno Account
- GetResponse API Key
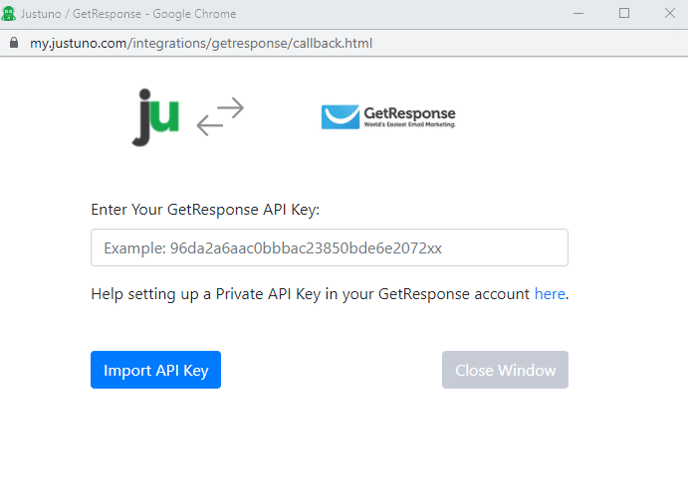
You will need to generate an API Key to use with Justuno. Here is a guide to generate a new API key.
Instructions
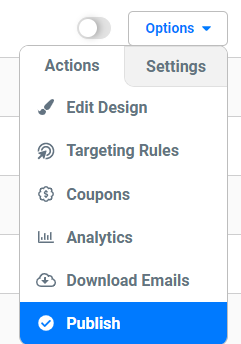
- In the Justuno promotions page select Options > Actions> Edit Design.
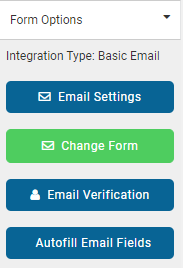
- Add an email layer and select 'Change Form':
- Select 'Connect Provider'
- Select 'Connect ESP Provider'
- Select GetResponse:
- Enter your GetResponse API Key and click Import API Key
-
Once authenticated, you will see your current GetResponse Mailing Lists appear. Select one list you would like contacts to be added to or create a new one. The new one will be added to your GetResponse account and will be available for immediate selection.

-
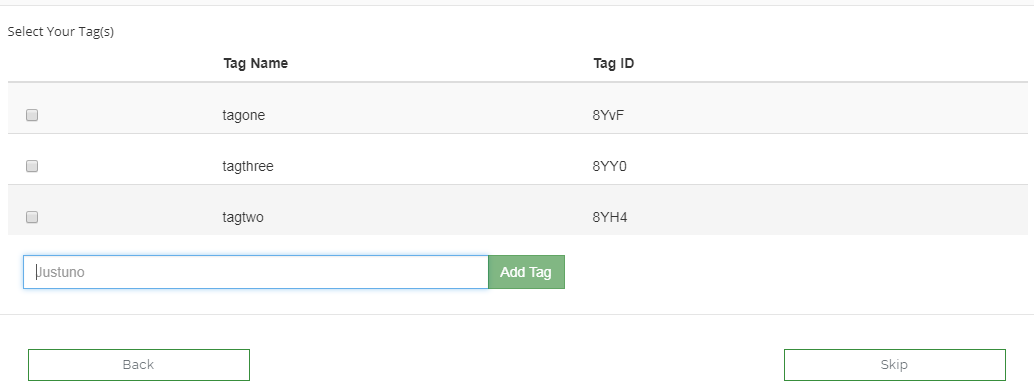
GetResponse Tag Definition
After selecting a List, you will see any Tags created for that List. Select all that apply to new contacts for this List or create a new Tag.
-
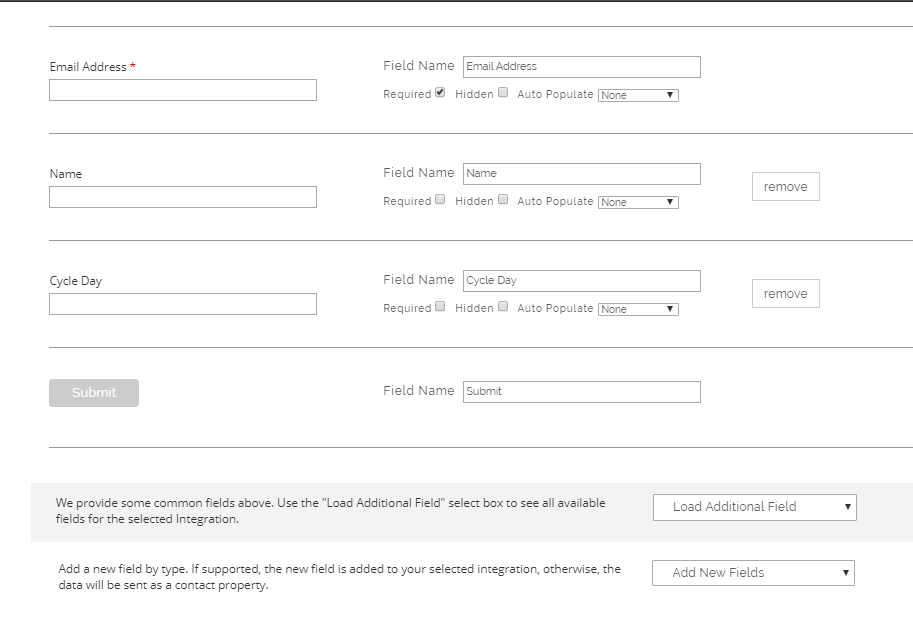
GetResponse Field Definition
We provide a limited set of fields to use which you can use in the Create Form process. To view/use your GetResponse Custom Fields, click "Load Additional Fields" and check off the fields you would like to add to the form.
You can also create new fields by selecting a field type from "Add New Field".
If you are sending information that does not require a user to fill anything out to ensure the hidden setting is checked. We have added a few hidden fields that are commonly used:
- Cycle Day (set the GetResponse Auto-Responder Cycle Day Number and hide the field)
- Current URL (the URL a user is on when they submit the form)
- IP address (the visitor’s IP address)
- Coupon code (the coupon code they receive in the post engagement)
- Referring URL (the URL the user clicked on to get to the new page in your website.)
- Previous Domain Referring URL (the URL of the last page)
- First URL visitor landed on (the URL the user first landed on)
-
- Save and publish your promotion. Your Justuno will now sync new signups to your selected GetResponselist as they come in.
Visit Justuno @ Justuno.com