Covers the steps needed to configure the Dotdigital Design Canvas Integration
At a Glance
1. Instructions
2. DotDigital Setup
Instructions
1. From the promotion section, navigate to the design canvas of your desired promotion.
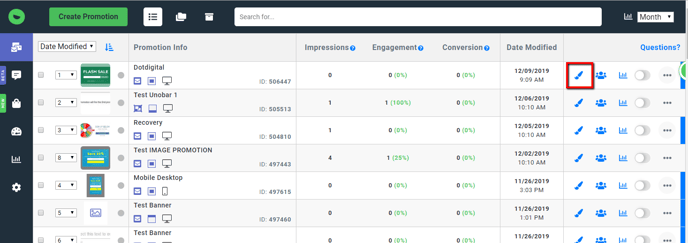
2. Click the Email Submission field of your Promotion, then Change Form.
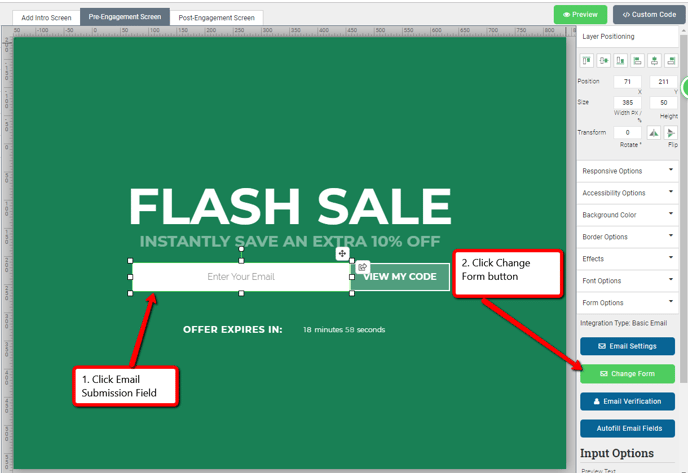
3. Click the Email Submission field of your Promotion, then Change Form.
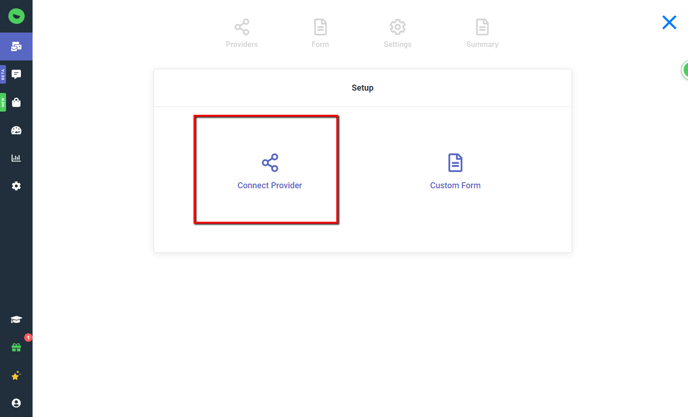
4. Click Connect ESP Provider

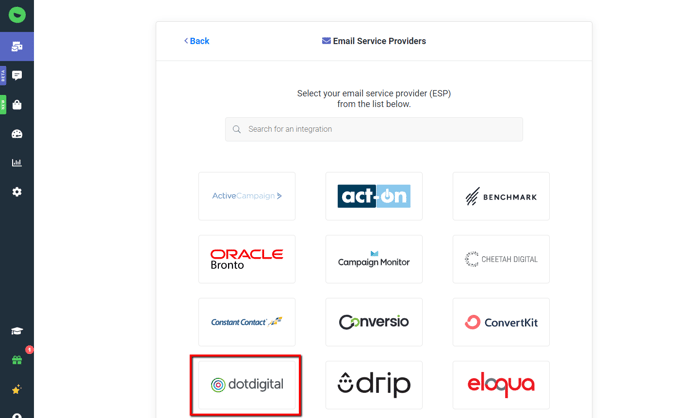
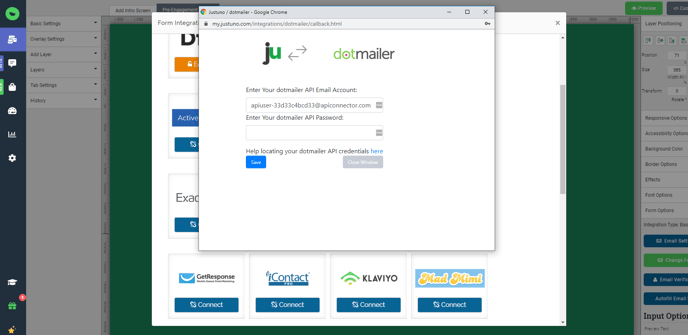
5. Click the dotdigital logo
6. Continue to the legacy system, and enter your dotdigital credentials.
Dotdigital Setup
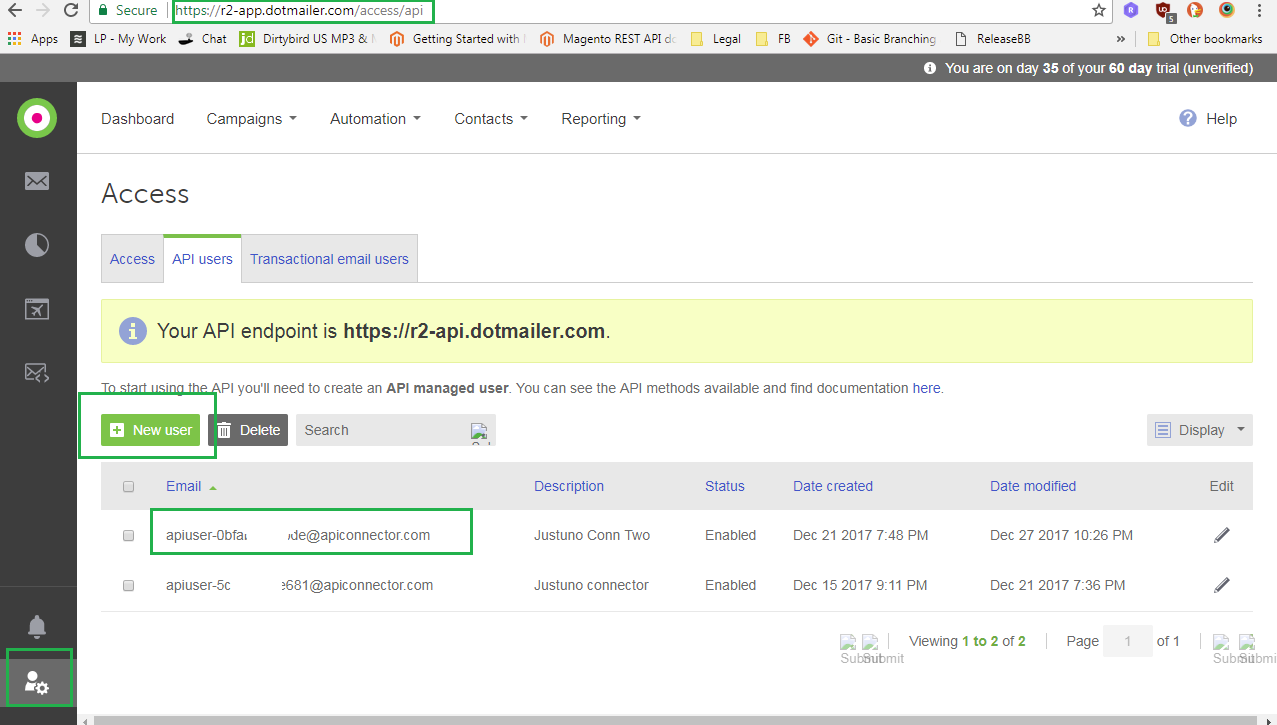
- Enter your Dotdigital API user name and password. Navigate to your User Settings, click the API users tab and create a new API User. Make note of the password. You will use these credentials in a later step.
2. Once authenticated, you will see your current Dotdigital Mailing Lists appear. Select one list you would like contacts to be added to or create a new one. The new one will be added to your Dotdigital account and will be available for immediate selection.

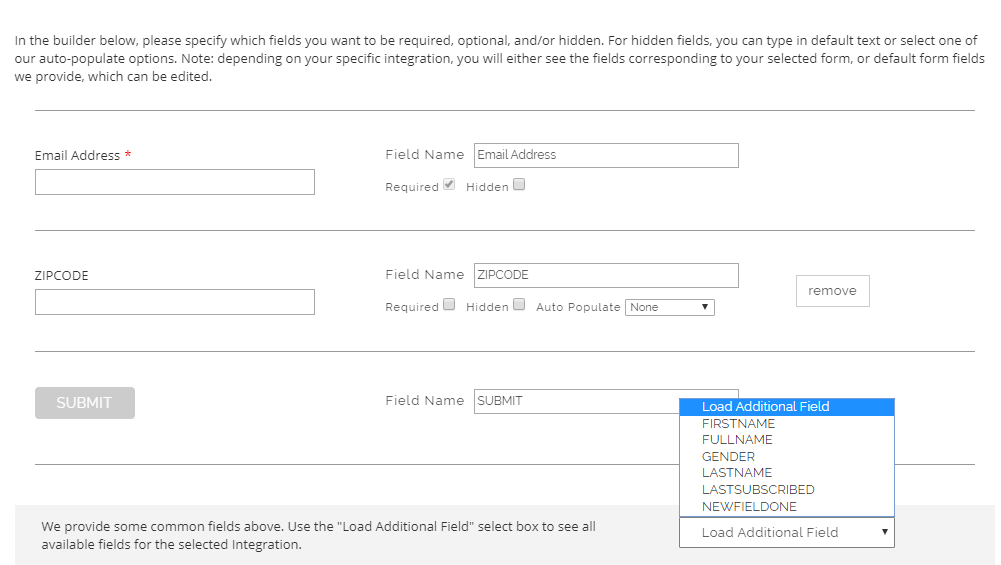
3. We provide a limited set of fields to use which you can use in the Create Form process. To view/use your Dotdigital Custom Fields, click "Load Additional Fields" and check off the fields you would like to add to the form.
You can also create new fields by selecting a field type from "Add New Fields".
If you are sending information that does not require a user to fill anything out make sure the hidden setting is checked. We have added a few hidden fields that are commonly used:
- Current url (the url a user is on when they submit the form)
- IP address (the visitor’s IP address)
- Coupon code (the coupon code they receive in the post engagement)
- Referring url (the url the user clicked on to get to the new page in your website.)
- Previous Domain Referring URL (the url of the last page)
- First url visitor landed on (the url the user first landed on)
4. Once you have finalized the fields to use, click “Create Form” then arrange the fields are your promotion as desired.
5. Once you have arranged all fields, be sure to SAVE and then Preview or Publish your Promotion.
Visit Justuno @ Justuno.com